What Is A Hand Block Fabric?
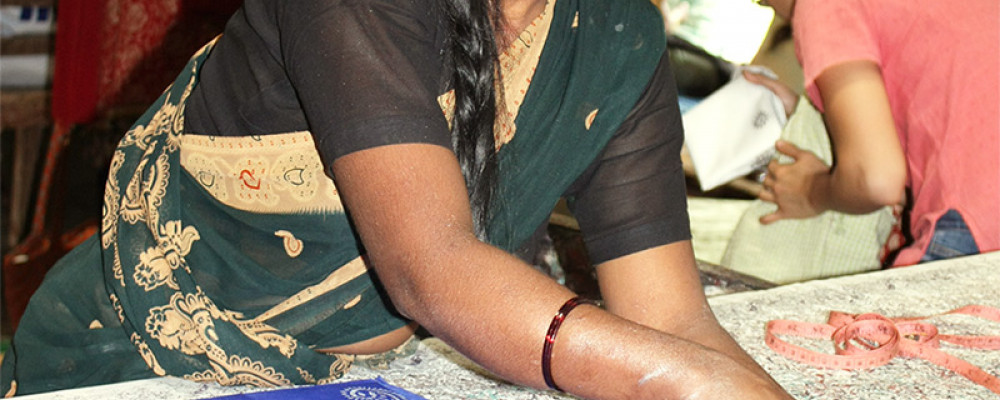
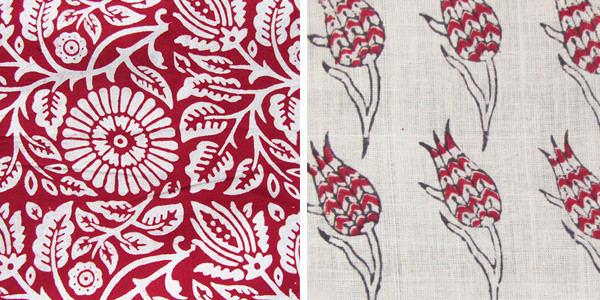
Hand blocking is an ancient method of textile printing, renowned for it's exotic designs in vibrant colours on fabric. In this method, wooden blocks carved with intricate details are used to manually print beautiful designs that usually cover the entire length of a fabric.
This form of printing takes time and effort, but the results are stunning and justify the painstaking precision it takes.
Where Did Hand Block Printing Originate?
The art of block printing dates back to the ancient Indus valley civilization of India. There are examples of Indian block printed cloth from as early as the 12th century in museums. The article Art of Block Printing outlines the fascinating history of block printing in India, which continues to this day.
Creating The Design
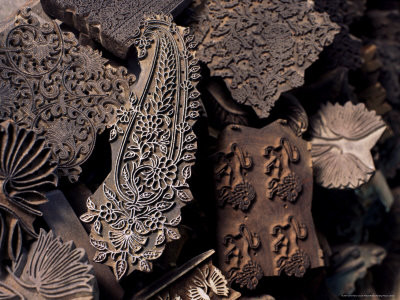
It begins with the preparation of the design on wooden blocks. The block is normally two to three inches thick and is created out of box, lime, pear wood, teak, holly or sycamore. The upper surface is flattened and perfectly smooth.
Now comes the phase of transferring the design onto the block. The design which is first created on paper, is outlined on the block using lampblack and oil. The block cutter then begins carving in the details. The indents are created around the heavier masses first, and then the finer portions are handled.
Once the larger masses are cut, the design stands out like a letterpress. Here begins the difficult part. When we look at a hand block fabric we can observe several fine details. It is difficult to achieve these details by carving them directly into wood. Even when carved on wood, it is likely that these delicate details will break off easily. To prevent this, the details are built up in strips of metal and driven into the printing surface. This is called “coppering”, which is the process that creates the delicate stars, flowers and the pretty little details that we adore in hand block prints.
Now, here's an interesting fact: for every colour that is used in the design, a separate block is required. There are designs that are so complex that they use up to 30 blocks!
The Printing Process
The fabric to be printed is stretched out tightly on a printing table. A colour sieve (a tub filled with a dye and starch paste) is used to create the colour. Eco-friendly dyes are usually used in the traditional hand block printing method. Certainly, all the dyes used to create our hand block printed fabrics are azo-free.
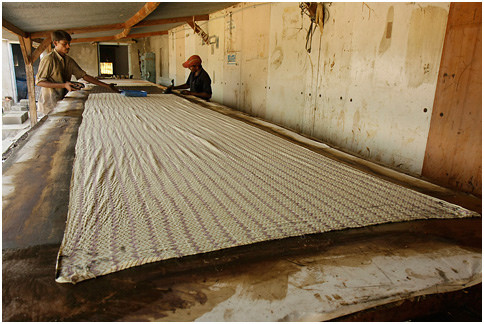
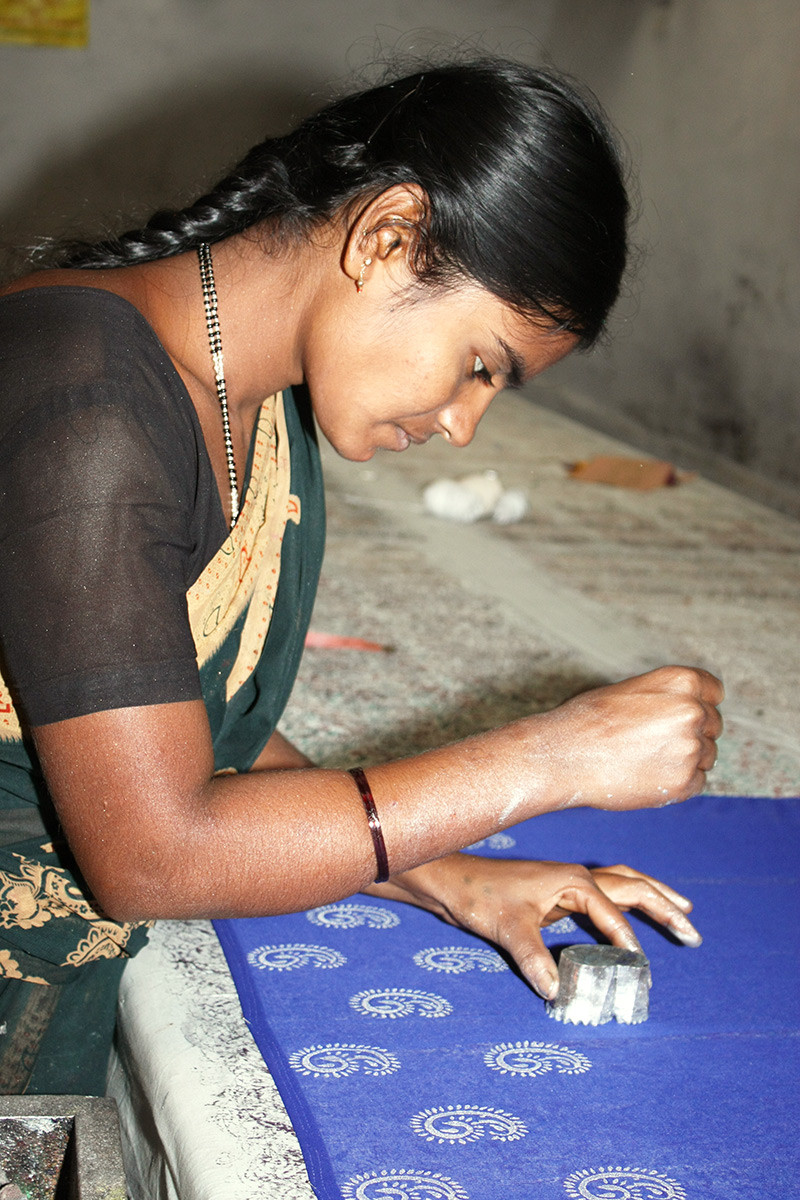
The artist begins the process by stretching the required amount of cloth from the roll, securing it and marking the initial position where the first print is to be made. The engraved block is now immersed in the dye. It is then pressed firmly in the indicated position on the cloth and struck on the back to create a solid shape, or impression. A second impression is created in the same manner so that it aligns perfectly with the first. As any of you screen-printers will know, there is an incredible amount of skill needed here to ensure that the prints are created in a continuous fashion. This is all done by simply relying on pins placed at specific positions on the block as guides for the next placement. An expert printer will ensure that the print is continuous and there is no break in it.
Printing Multiple Colours
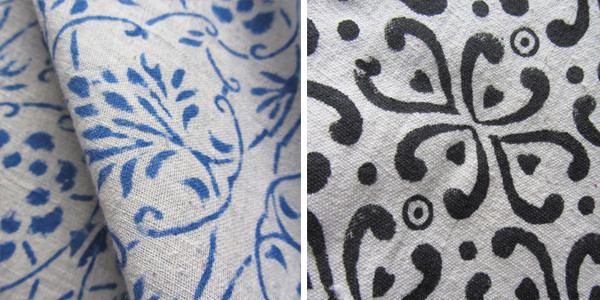
It is possible to create prints with more than one colour at the same time, using a method called “tobying”. Here, a special colour sieve containing compartments with different colours is used. The arrangement ensures that the colours stay within their specified boundaries. When the block is pressed onto the sieve, each part takes up a different colour which is then transferred to the cloth. However, this method can only be used for patterns that have different coloured shapes placed at small distances.
Colour Fixing
Although the method is relatively simple, we should remember that it is a labour-intensive process. The technique is primarily employed to create ethnic prints on sustainable textiles made with natural fibers. Nevertheless, the results are sensational, and the stunning effect of hand block fabrics is not easy to achieve by any other method.
If you’d like to keep receiving design articles, then please do add your email address in the top right hand corner or sign up to a more specific mailing list and I’ll send you a monthly roundup of the most popular articles!
